To complete the process of using lynda.com videos in a Blackboard course, you need to create a playlist, add videos to the playlist, and link the playlist to the LMS (i.e., your Blackboard course). Do the following:
- Login to Blackboard, then
- Click the Help tab,
- Click the yellow “Log in to lynda.com” button,
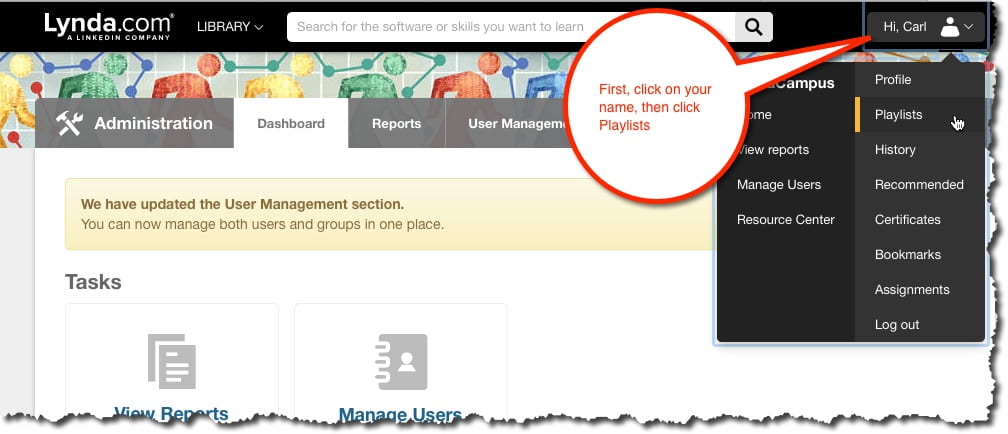
- Select “Playlists” from the drop down menu next to your name.
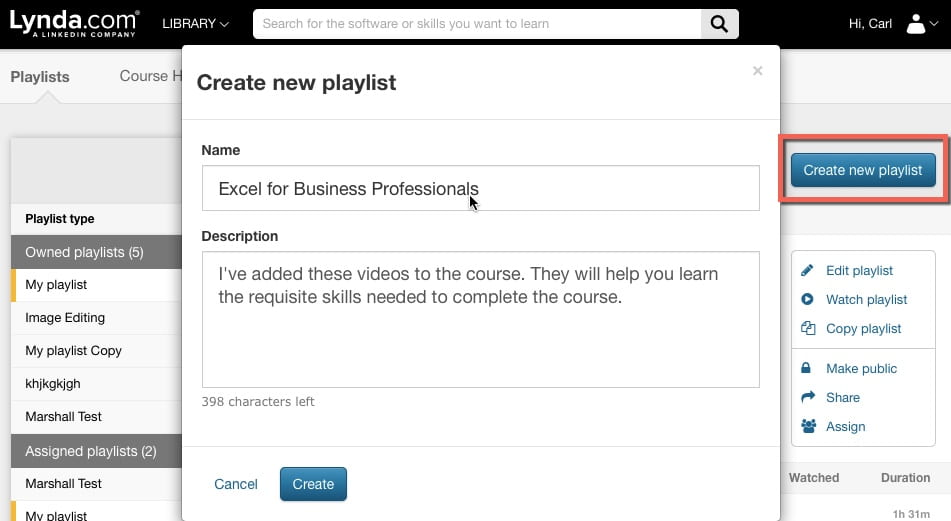
- Click “Create new Playlist”,
- Enter the “Name” as it will appear in your “My Playlist” listing,
- The “Description” is optional, finally
- Remember to click “Create” to save your work.
- Scroll down and enter a word or phrase into the “Add to your playlist” search box, then
- Click the “+” plus-sign to add a course to the playlist.

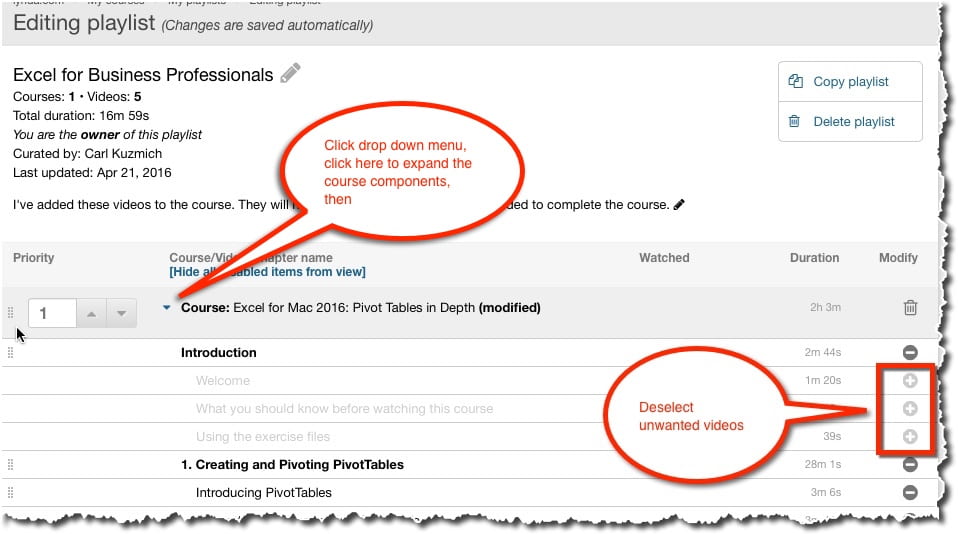
NOTE: At this point, you may or may not be finished? If you like, you can select a subset of video lessons. If you only want particular videos in the playlist, you will need to “edit the playlist” to remove the unwanted video lessons, see below:
- Select the playlist you want to edit, then
- Click “Edit playlist” to enter the playlist,
- Select the small drop down arrow to the left of the course name to expand the course components,
- Click each “-” minus-sign for a video you want to remove from your “customized” course. (HINT: lynda.com automatically saves your changes)
The “last step” is to link the playlist back to a course, do the following:
- Click the playlist that you want to link to your course (e.g., Excel for Business Professionals) in this example, then
- Click “Link to LMS” (you will find it over on the right-side of the screen).

Return to your course to test the link.
IMPORTANT: You must test this using the “Student Preview” feature, otherwise, clicking the link will launch you right back into your account.