Create content links on the left hand-panel of your course and organize course materials with folders.
How To Create a Course Link
- Mouse over the + symbol on the left sidebar.
- Click “Content area.”
- Enter a name for the link (E.g., “Module 2”).
- Select “Available to Users.”
- Click Submit.
How To Create Folders
Folders in Blackboard work just like folders on your workstation, i.e., they are used to group and/or organize materials. To begin, navigate to a course page and turn “Edit Mode” ON. An action menu will appear containing several action buttons.
- Click on the “Build Content” action menu button to expose a listing of content types to choose from.
- Select “Content Folder” listed under the “New Page” heading.
- Name the folder and decide when to make it available to students.
- Enter a name for the folder and designate a color for it.
- Enter any descriptive information you may want for the folder.
- Using the “release options”, choose when to make the course folder available to students.
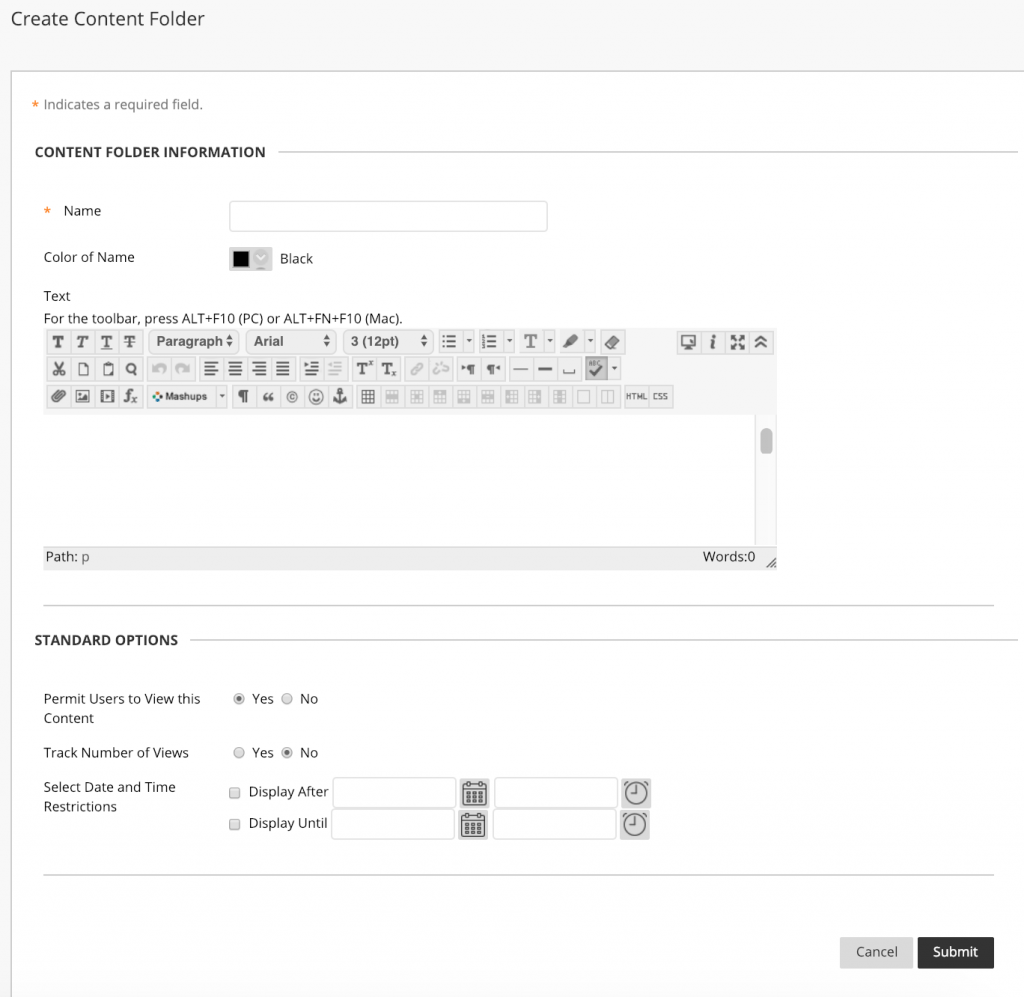
- Click “Submit” to complete the creation process.

Note: You should see the newly created folder in the content area where you added it. To enter the folder, click the link.
To learn more about why you might want to use folders, click here.